
Every year, I always, always forget just how much work it is getting ready for school. I have my “Back to School To Do List”, but I still underestimate how much time and work is involved. And there are always some things you can’t do until you get that class list.
Here are some things you will most likely need to do to get your classroom ready for Pre-K at back to school time. Even if your school is not the same as mine, and all of these don’t work for you, many of these ideas will hopefully help.
1. Dust the furniture, clean shelves and bins.
This is one of the first things I do. I clean every shelf, every piece of furniture, and clean out all of the bins.
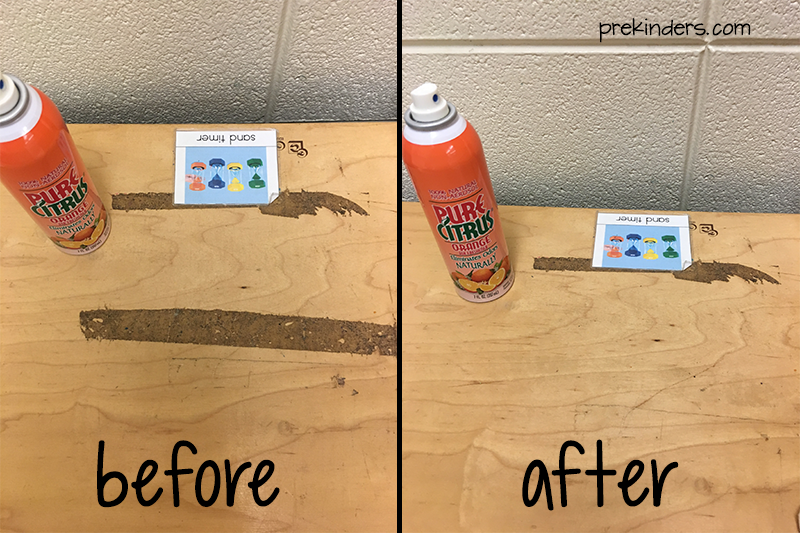
It’s inevitable that classroom furniture gets this dark residue from things that have been taped on the shelf. Goo Gone works okay. Lemon essential oil works great, but is too expensive. Then my mom told me about this orange air freshener she found at Home Depot. Yes, it’s air freshener, but it does a fantastic job of removing gunk! I sprayed this shelf once, rubbed it with cotton balls, sprayed it again, rubbed one more time, and it was gone. I have no idea if other kinds of air freshener would work, but this one does. Sold at Home Depot, Walmart, CVS, Walgreens.com.
2. Make name cards for cubbies.
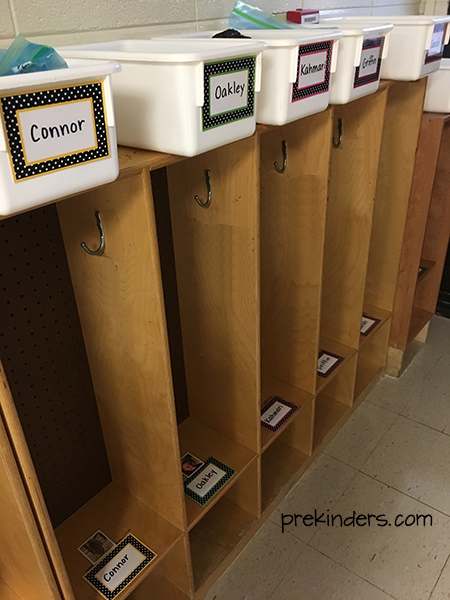
Because preschool children may not be able to recognize their name right away, you can make cubby name tags with a unique symbol for each child or add a photo of the child along with the name tag. This is especially helpful if you have children with similar names, and often Pre-K kids only recognize their name by the first letter. If your photo or symbol is separate from the name tag, you can remove those later in the year to encourage children to identify their name.
Cubbies with a picture symbol:

Cubbies with name tags and separate photo of child:
3. Set up the bulletin boards for children’s artwork.
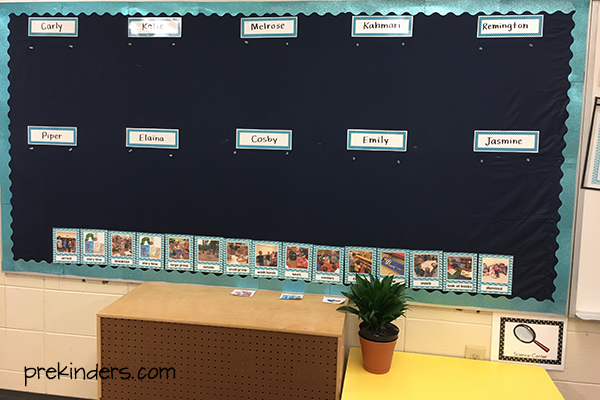
People often ask me for bulletin board ideas, but I don’t decorate bulletin boards, not ever. I use my bulletin boards to post children’s artwork. The artwork is changed out monthly, but other than that, the bulletin board stays the same all year. I have used burlap to cover the boards before, and I currently have a $5 Walmart flat sheet. The board is set up with a space for each child and their name plate.
4. Post a pictorial schedule for the children.
You can see our linear picture schedule at the bottom of the bulletin board in the photo above. It is posted at children’s eye level. >> You can get an editable picture schedule here. <<
5. Make copies of Back to School file.
I go through my “back to school” file and make copies of all papers that need to be sent home at Open House. This includes a letter introducing myself and my assistant, transportation form (how they will dismiss every day), information about separation anxiety, etc.
6. Prepare children’s daily communication folders.
Make a cover to place in the children’s daily folders, put each child’s name on each.
Our Daily Folders ready to go for Open House. These have a welcome letter, Pre-K handbook, & any other information that needs to go home. Parents take the folder home at Open House & return it each day. The orange sheets are sign up sheets for parent volunteers on special occasions. The white slips beside that are for each parent to fill out & give to me right away– it tells me if their child is half or full day, how they dismiss from school (car, extended day, etc), and emergency phone number.
These folders are from Nicky’s Folders. I’ve been using them for years, and they are the most durable, awesome folders I’ve ever found.

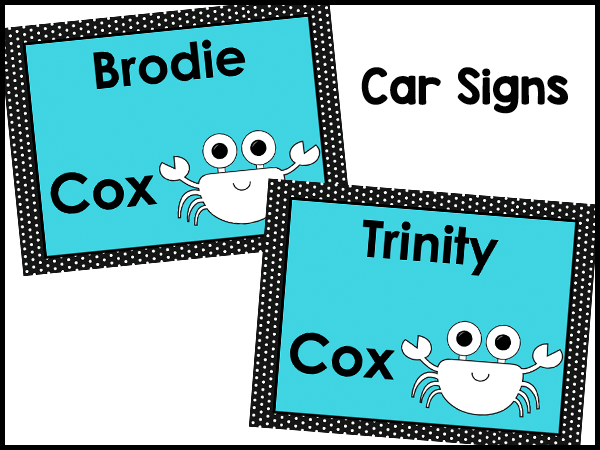
7. Print and laminate car signs.
These signs have the child’s first name, my last name, and my class symbol which is a crab. Parents use them in the car pickup line. These are copied onto turquoise paper as the turquoise color represents my class.
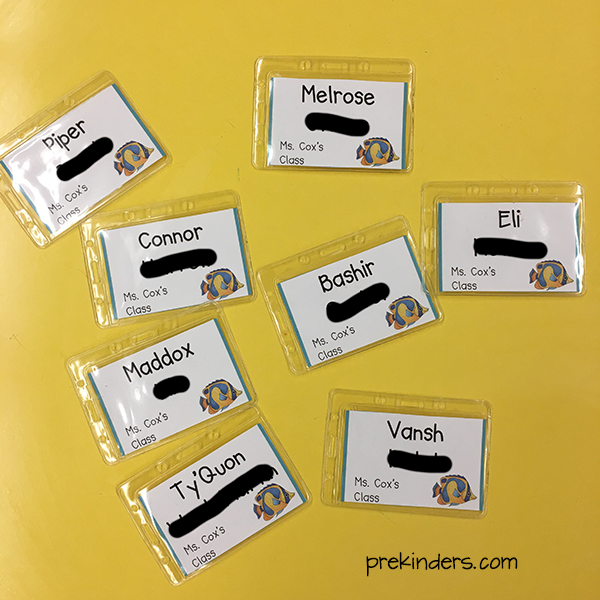
8. Make name tags.
I make name tags for the kids to wear the first day or two. I always put their first and last name on them for the cafeteria staff. I also put my name on them in case a child wanders out of line into the wrong classroom. I’m at a school with 12 Pre-K classes so it’s not easy to know where a child belongs.
9. Make a first day class tag.
Print and laminate a class tag that each child will wear on their shirt the first day of school. These will later be taped to their back pack strap. This tag has their grade level (Pre-K) and my name, so that when children get off the bus or out of their car in the mornings, staff know exactly where the child belongs.
10. Dismissal chart ready.
Get the dismissal chart ready with who goes by car, daycare, bus, extended day, etc. >> Get a free printable dismissal chart here. <<
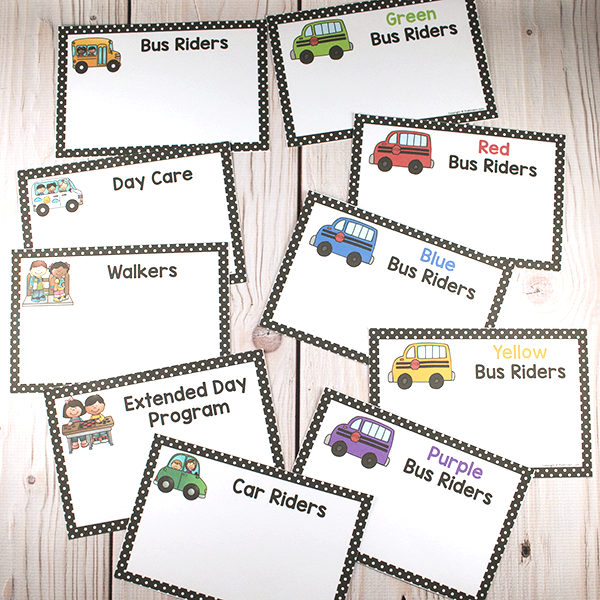
11. Make dismissal tags for every child.
These are color coded and copied onto colored construction paper. We slip their tag into a very durable clear plastic badge and attach it to the top loop on their back pack with a zip tie. This tag shows if the child is a car rider, day care van rider, or bus rider and which bus they ride.
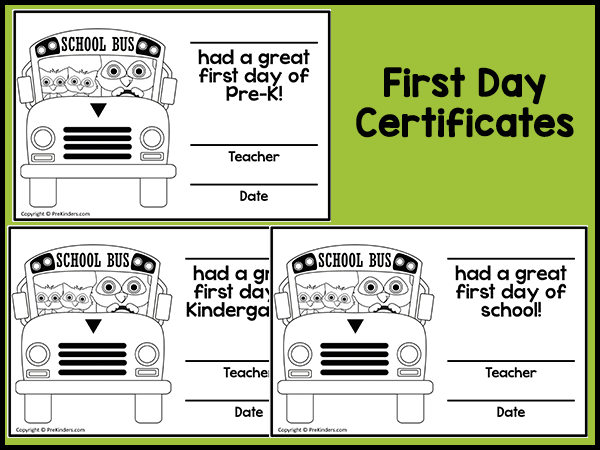
12. Print and copy first day of school certificates.
I write my name and date on them, make copies, then write the children’s names on them. (Don’t tell, but every child gets one, even if their day wasn’t the best. 🙂 ) >> Get free printable first day of school certificates here. <<
13. Put children’s names on the classroom door.
This helps parents find their child’s classroom at Open House and the first day of school. It also gives the kids ownership (“this is my classroom”). I have made door decorations some years and other years, I typed out a list to post on the door.
Here’s our classroom door (years ago), decorated with a welcome sign & the teachers’ and children’s names.

14. Supplies ready.
Get crayons, markers, colored pencils, and glue ready and in their containers. I always put out new glue and markers, but I reuse our colored pencils. I also put out last year’s old crayons at the beginning of the year because kids are likely to destroy crayons at first. Later on, we get the pretty new ones.
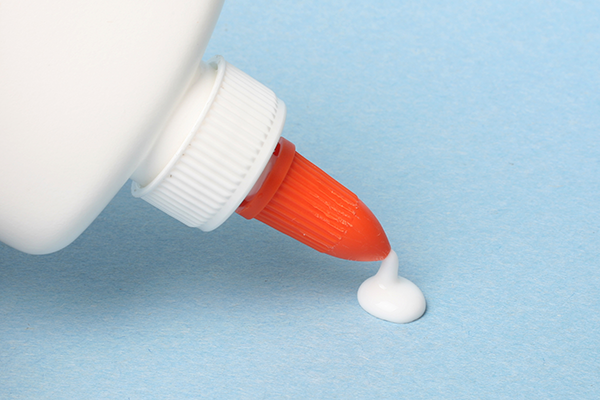
15. Glue caps ready.
I put Vaseline in the glue caps to prevent them from clogging. >> Read this tip and more here. <<
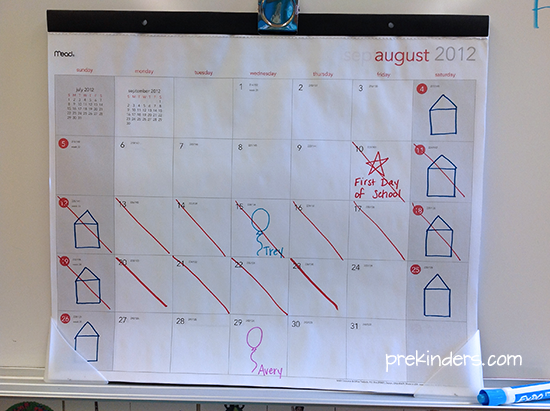
16. Calendar ready.
I buy a new calendar for our morning meeting and get that ready by drawing symbols on it. >> Read about how I do a meaningful calendar here. <<
17. Large Group Chart ready.
I make a large group chart for where I want each child to sit on the carpet. I also write kids’ names on masking tape and stick it to their spot on the carpet. I only use the masking tape the first couple of weeks of school and once they know where to sit, I remove it. I haven’t had any problems with the masking tape leaving a residue.
18. Label the cots with children’s names.
I’m the only teacher I know who uses masking tape like crazy, and that new pretty masking tape in colors and patterns is perfect for labeling cots. It’s cute and the masking tape sticks on great and doesn’t leave residue. I use masking tape to stick pretty much everything.
19. Write names on hanging file folders.
These folders are for sorting excuse notes and communication with parents. I use Post-It tabs to put their names on them.

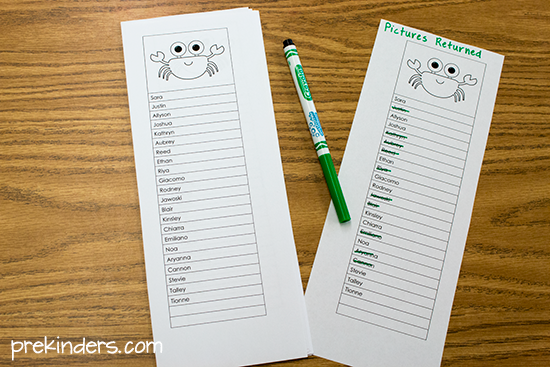
20. Make checklists with names and print them.
>> Read this tip and get the printable here. <<
21. Email parents about Open House.
Call those who don’t reply.
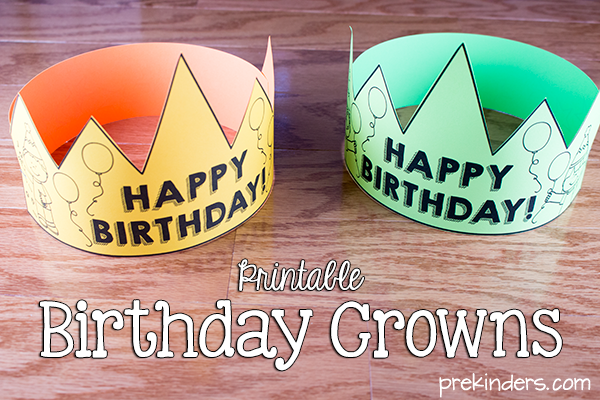
22. Birthday Crowns ready for the year.
Copy birthday crowns onto colored card stock paper. I go ahead and get all of these ready for the whole year. It makes it easier to have them ready to go, so I’m scrambling to get to the copy machine on the morning of a child’s birthday. >> Get free printable birthday crowns here. <<
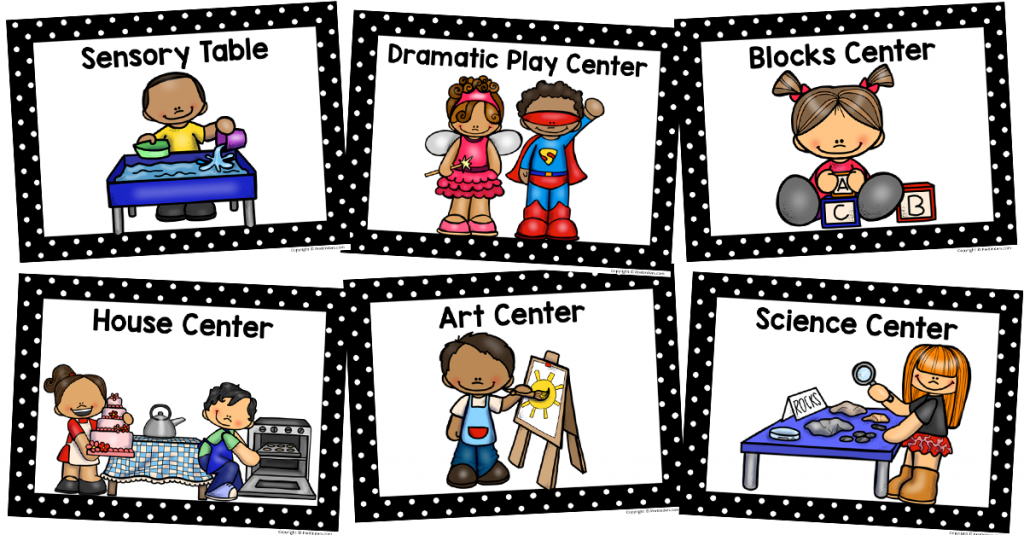
23. Print center signs and post them on the wall.
I reuse these each year, so I don’t actually have to print them each year. >> Get printable center signs here <<
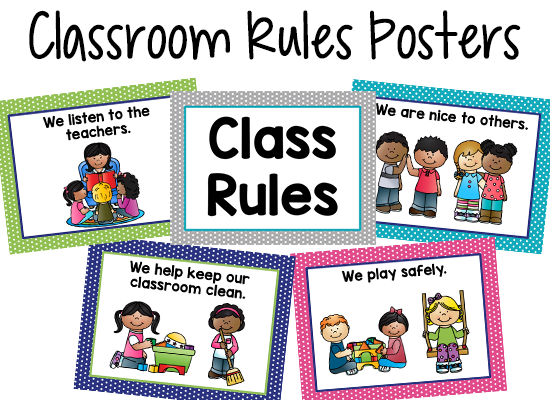
24. Print classroom rule posters and post on the wall.
These are reused each year as well. >> Get free printable class rules posters here. <<
25. First week of lesson plans prepared.
Write lesson plans for the first week. Get all materials ready. Make signs for small group to show which kids are in each group. >> Read more about small group here. <<
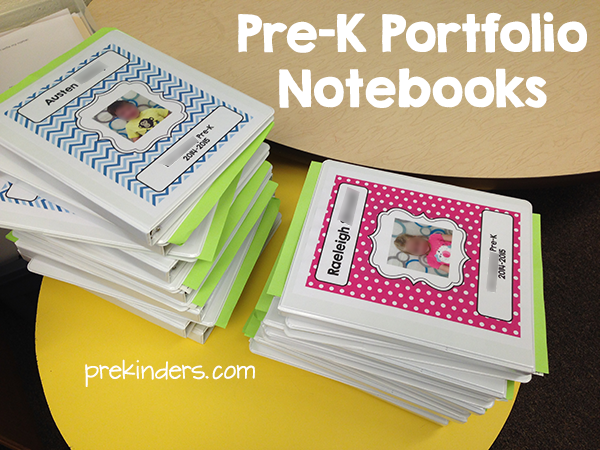
26. Get the student portfolios ready.
This is something that actually can wait until later if I’m running out of time. >> Read more about Student Portfolios here. <<
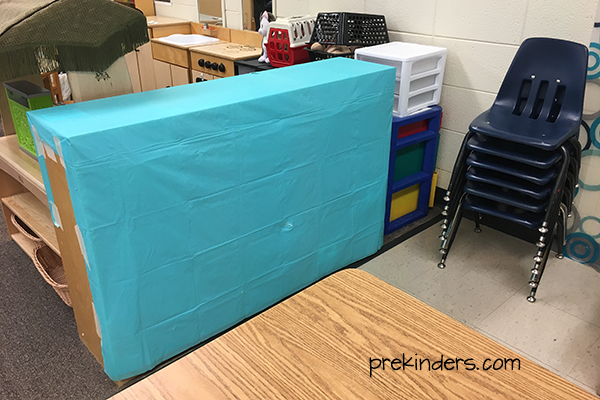
27. Get centers ready.
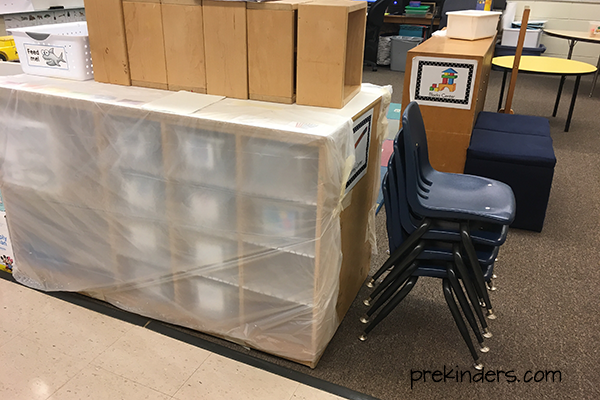
I take each center one by one and get it ready. I also turn shelves around and/or wrap up some materials so that children aren’t overwhelmed by having so much stuff available in the beginning. Families see the room at it’s best at Spring Open House. >> Read more about Center Time here. <<
This shelf is covered with a $1.00 disposable party tablecloth.
This shelf is covered with a clear trash bag (with the bottom of the trash bag cut off):
28. Get the class Wish List ready for parents.
>> Read about posting a Class Wish List here. <<
Clipart credit: DigitalArtsi