
Many new teachers, or teachers new to Pre-K, ask how to begin the year.
How to survive the First Days of Pre-K!
The best advice I got as a new teacher was to forget about apples and themes and any “cutesy stuff” for the first few weeks of school, and focus on teaching them how to use the centers and the materials in the classroom. Lessons at the beginning of school should be basic: how to use glue, how to use scissors, how to use markers, how to use paint, how to line up, etc. Don’t assume that they know these things.
Before the First Day
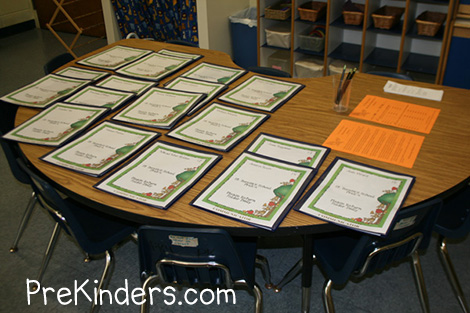
As soon as I get my class list, I send out a small packet to the parents. The packet includes a letter to the parents introducing myself and my assistant with some brief information about our program and curriculum. It also includes a child info sheet. I ask the parents to bring these to school on orientation day, and remind them of the date and time. The packet also has a “First Day Fears” letter, explaining separation anxieties and some tips for a smooth transition to school. Here’s a link to a First Day Fears Letter (originally from Ms. Bonthuis’ site).
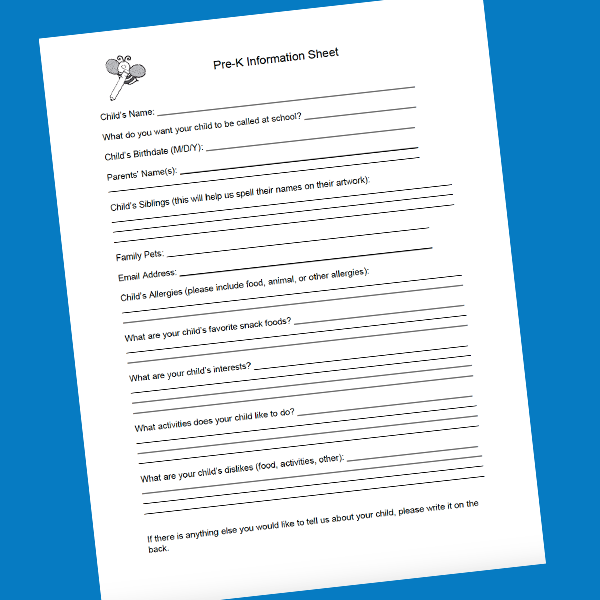
Click to download the Child Information Sheet
Orientation
At orientation, we have the children go in another room to watch a movie, while the teachers give a presentation to the parents. I try to keep it brief, so the children have time to come in and explore the classroom.
I draw a map on the board for parents who don’t know our school’s arrival and dismissal procedures. I explain a little about the curriculum and briefly go over our handbook, then allow them time to ask questions.
I have sign-up sheets on the tables for volunteer time and for parents to write how their child will get home (car, walk, daycare van, or extended day). I also pass out our daily folders and explain their purpose.
Daily Folders
How we use the daily folders: The daily folders are used all year, and are brought to school every day. They are used as a communication tool between home and school. Parents are asked to send any notes to me or the school or any money in the folder, and I send any notes from me or the school to them. The child’s work is also sent home in the folder.
I put a copy of our handbook and our curriculum in the folder for orientation day, and have the parents take them home and return them the first day of school.
Where we get our daily folders: The folders we use are plastic with clear covers on the front and back and clear pockets on the inside. I slip a decorated paper in the front pocket with the child’s name, school name, and grade. It also says “Please return daily” as a reminder to the parents. The back pocket has a monthly class calendar. The inside pockets have “return to school” written on the left side, and “keep at home” written on the right side. The folders are from Nicky’s Folders. I’ve been using these for years, and they are very durable.
First Day of School Arrival
The first day of school is always very busy at arrival time because parents remember something they need to tell me or ask me, and the children want to wander around the room pulling things out.
On the tables, I set out crayons and paper with the words “I drew this on the first day of school” printed on the bottom. I save these for their portfolios. I also put Legos on the table to keep the kids busy. My assistant helps steer the wanderers back to the table to help keep the first day chaos down to a minimum.
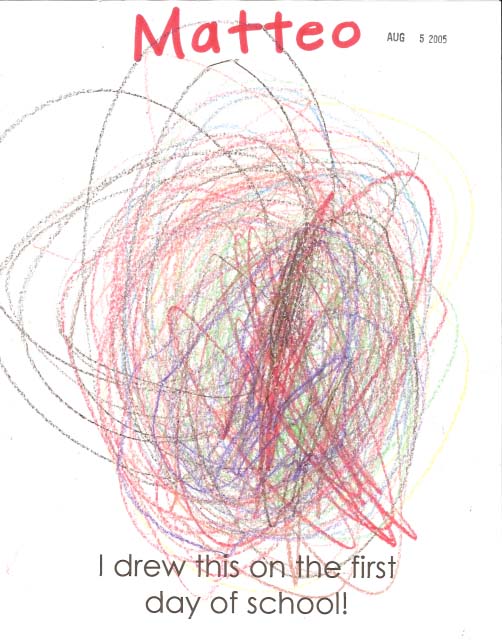
Download a printable First Day Drawing sheet
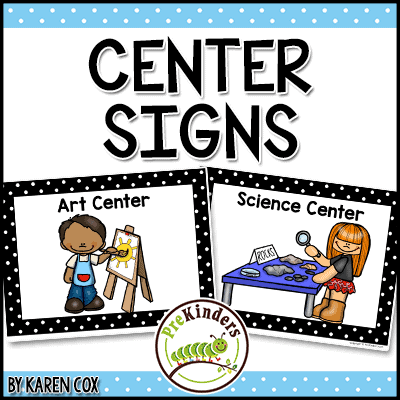
Center Time
It’s nice to have a wide variety of materials in the centers for the children to use, but this can be overwhelming at the first of the year. It’s better to have less to begin with, let them get used to the room and how things are set up, then bring more materials out a few at a time. I introduce most materials at small group time before I put them in the center. I don’t have closet space to put things away, so I actually do have lots of things on the shelves at the beginning of the year, it just isn’t all available. It’s also a good idea to keep everything in the same place all year because it is less confusing for the kids. You don’t want to rearrange things on your shelves too much because the kids will never understand how and where they should be put away.
I have my centers set up how I want them to be for the year, but I turn the shelves around facing the walls, and bag up or wrap up some of the items. I wrap or bag the materials at the end of each year. That way, they’re packed for the summer and ready for the beginning of the next school year (and dust free!) The first few weeks of school, I only have the blocks, housekeeping, art, and reading center available. I slowly add other centers.
I do a lesson for each center before the kids use it, and we go over each center’s rules every day for the first few weeks. The first day of school, I split the class in half. My assistant takes half to the housekeeping center and I take half to the block center (afterwards, we switch). We show them where everything goes, and we explain safety rules (such as not throwing blocks or throwing things from the loft). We take a few things down and put them away asking the children if they remember where they go. Then, each child is given one or more items from that center and the children take turns putting them away. There are times when we have to repeat this. If things get out of hand in a particular center (safety issues or clean up issues), I close that center for a day, and we review the rules before using it again.
Tips for each center:
- HOUSEKEEPING: I don’t add dress-up clothes until September (2nd month of school for us).
- BLOCKS: At the beginning, we only have the basic wooden blocks. I don’t add cars and trucks or animals until later.
- ART: My art center has a lot of materials. The first few weeks, the only materials available are paper, markers, crayons, glue, and scissors. I wrap the other materials in butcher paper and write the contents on the package. When I feel the kids are ready for something new, we open a “present” (the kids love to open a new present).
- WRITING: This is done basically the same way as art. The first week, only paper, markers, and pencils are available.
- MATH and ABC: I put the manipulatives in 2-gallon ziplock bags and sit the bags down in the tubs. That way the kids can’t get into them and spread them all over the room before we’ve had a chance to go over the center rules. (This particular shelf is large and cannot be turned around.)
- READING: I only have a few board books out in the beginning. More books are added later.
- SCIENCE: This shelf is turned around backwards until we are ready for it.
Lesson Plans
As mentioned, our first activities and lessons center on learning about the classroom, school procedures, and how to use basic materials. These lessons last as long as needed. There is no set end time for beginning school lessons. See the School Unit page for my beginning school activities and lessons. You can also read about our day in Pre-K and see our schedule.
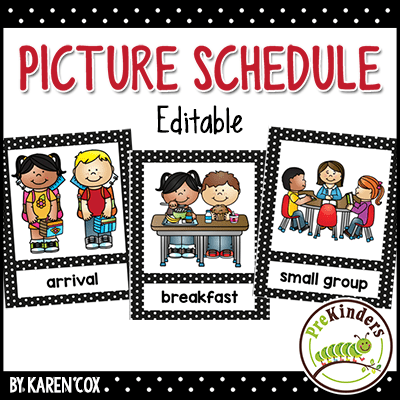
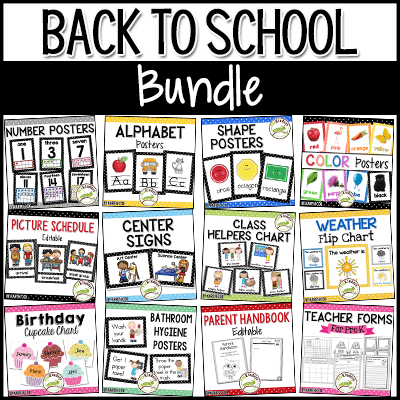
You might like these Back to School resources:
More pages on this site:
- Printable First Day Awards
- Lessons & Activities for the Beginning of School
- Our Day in Pre-K
- Schedule
- Classroom Rules
- Post a Wish List for Parents
- Preparing for Back to School