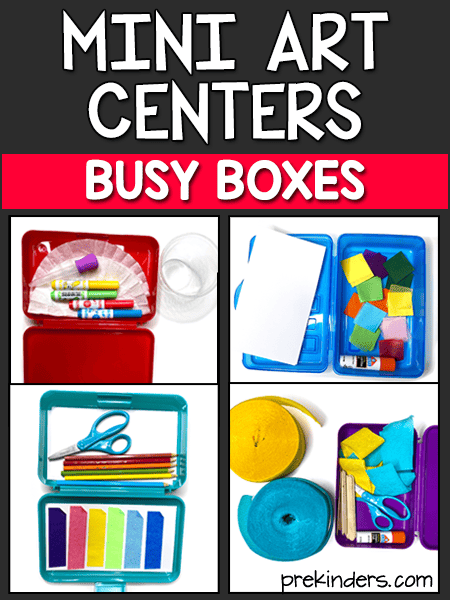
Here are some mini art centers that you can use for busy boxes.
Many of these boxes can be used for Literacy activities, and I will share those ideas below as well.
This post contains Amazon affiliate links.
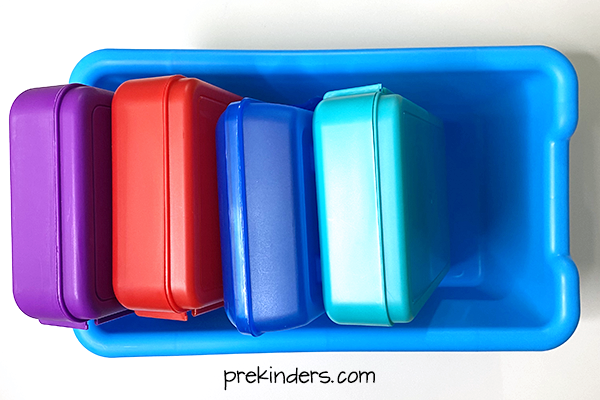
Pencil Box Mini Art Centers
Some art supplies can be put in individual pencil boxes so that each child can have their own center in the classroom or you can send these home to distance learners. Label each box with the children’s names. Five pencil boxes with fit in one bin for storage.
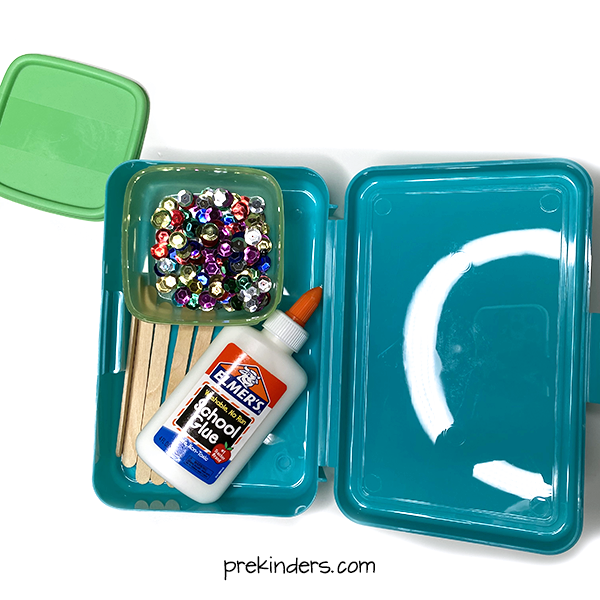
Sequins Mini Art Center
In this mini art center, I put a glue bottle, sequins, and wood craft sticks in a pencil box. I put a few sequins in a small shallow box I got from a dollar store. Children can glue the sequins onto paper or onto the sticks. It’s a great fine motor activity as well!
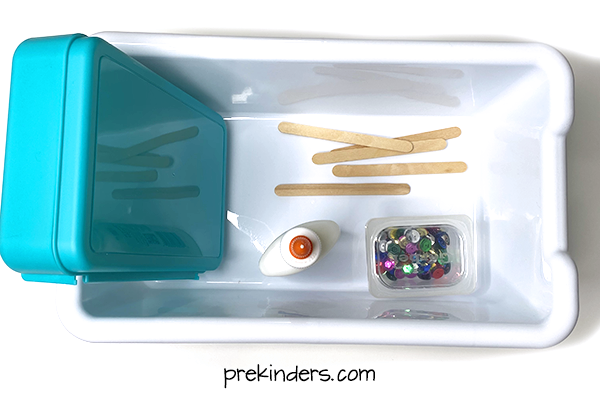
This shows the same sequin center in a bin. I added the basic art supply pencil box to the bin with glue, sequins, and wooden sticks. I was able to put the sequins in a plastic baby food box, but this box is too tall for the pencil box above.
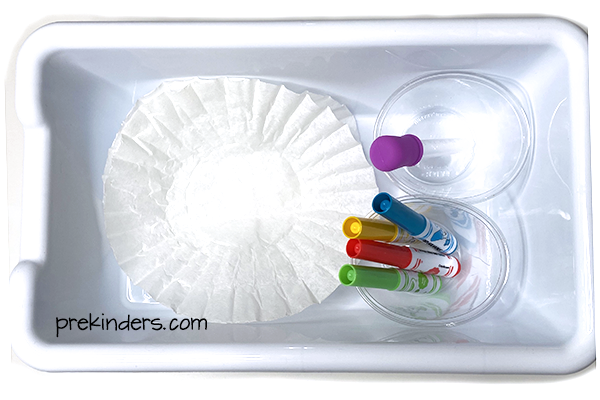
Coffee Filter Mini Art Center
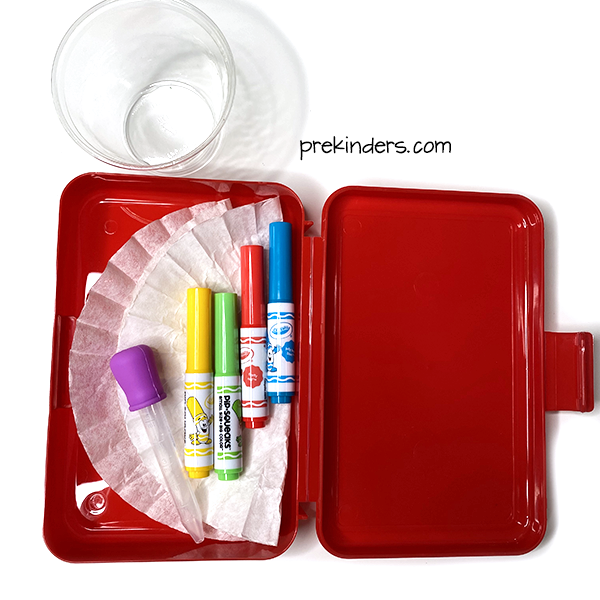
In this pencil box, I added two coffee filters, a water dropper, and washable markers*. The cup for water does not fit in the pencil box, so will have to be separate. Children can draw on the coffee filters with washable markers and then drop water using the water dropper. I’d also recommend adding a couple of paper towels to the box.
*Markers must be washable for this activity.
This is the same activity in a bin instead of pencil box. The water cup fits in the bin with the other materials.
Colored Tape Mini Art Center
This pencil box has paper, scissors, colored pencils, and colored masking tape. Children love to create with tape. You could also add craft sticks to this box. Normally, I would put the full rolls of all of the tape in my Art Center and children will pull it off the roll and tear or cut it. For pandemic times, if you are required to create these individual centers, you can cut off pieces of the tape and stick them onto a laminated piece of card stock.
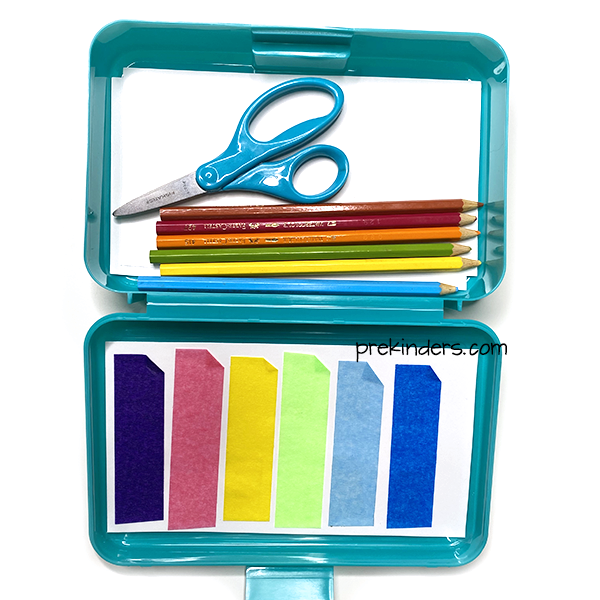
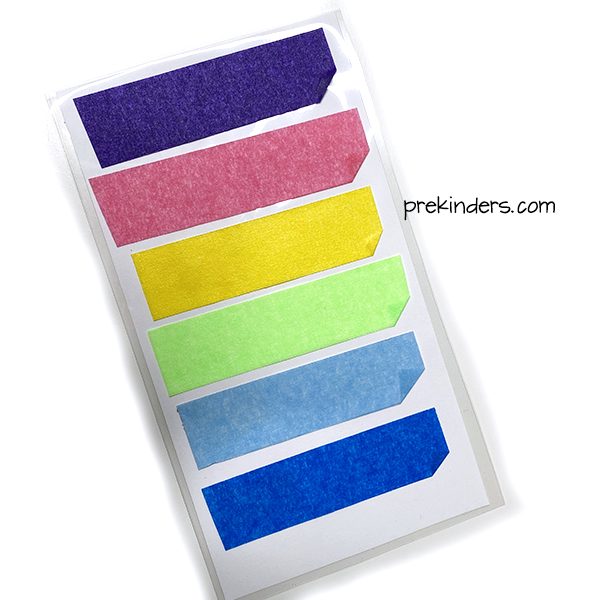
This is a piece of card stock that I cut to fit inside the pencil box and laminated. I stuck pieces of colored masking tape to the card. I folded down one corner of each piece so children can grip it easily to pull off.
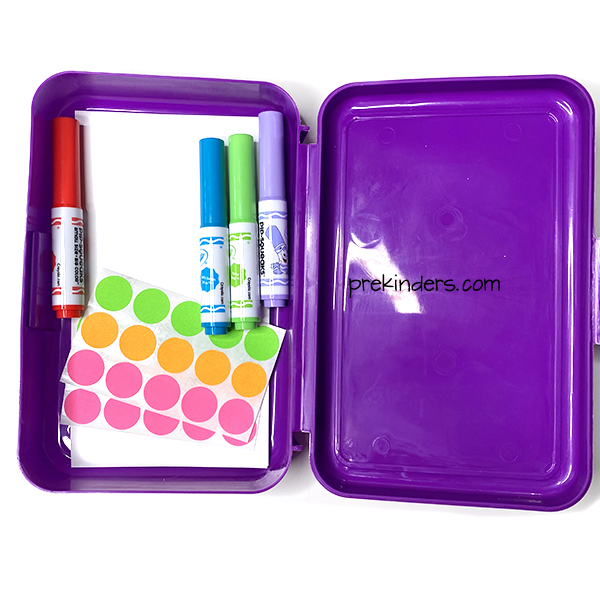
Dot Sticker Art Kit
In this mini art center, I added dot stickers (from the dollar store), paper, and markers.
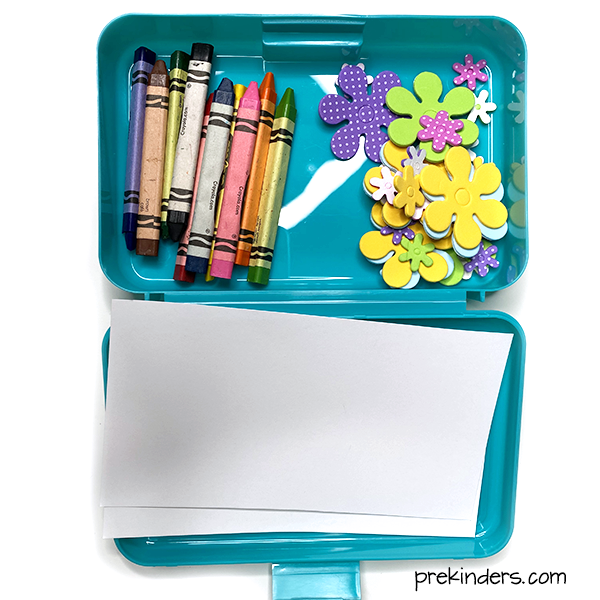
Foamie Sticker Art Box
This mini art center has crayons, paper, and foamie stickers.
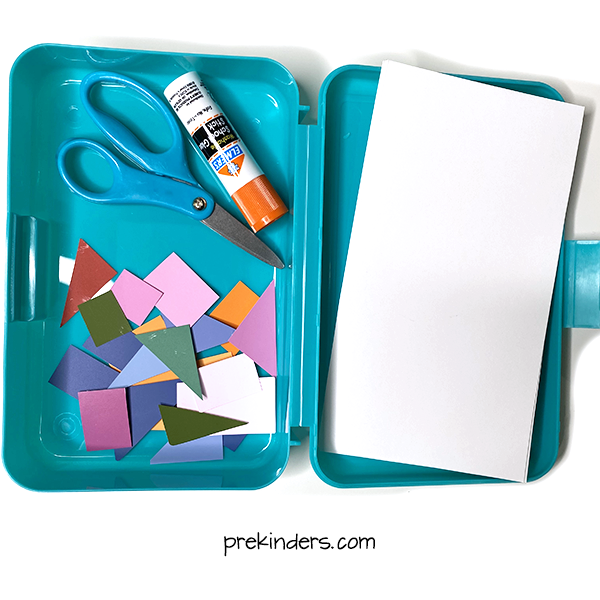
Paint Chip Mosaic Art Kit
In this mini art center, I have paper, scissors, glue stick, and pieces of paint chips. You can collect paint chips from hardware stores. I cut them into square, rectangle, and triangle pieces. You could also just add the whole paint chips to the box and have the children cut them.
Rock Crayon Art Box
In this box, I added Rock Crayons with paper. Children love the novelty of drawing with rock crayons and they are great for fine motor and proper grasp.

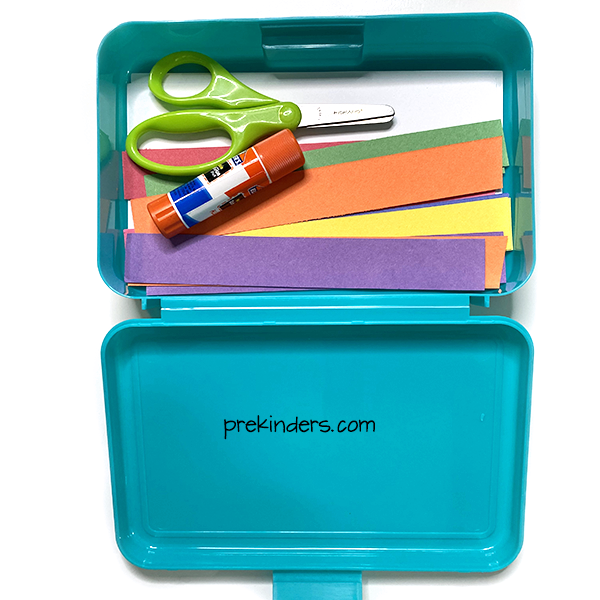
Cutting Box
This mini art center has scissors, paper, glue stick, and 1-inch wide paper strips. I like to start the year having children practice snipping 1-inch paper strips when they are learning how to hold scissors correctly and cut. These are great for all year, as well, and you can choose colors that match the seasons. Children cut the strips into squares and make a mosaic on their paper.
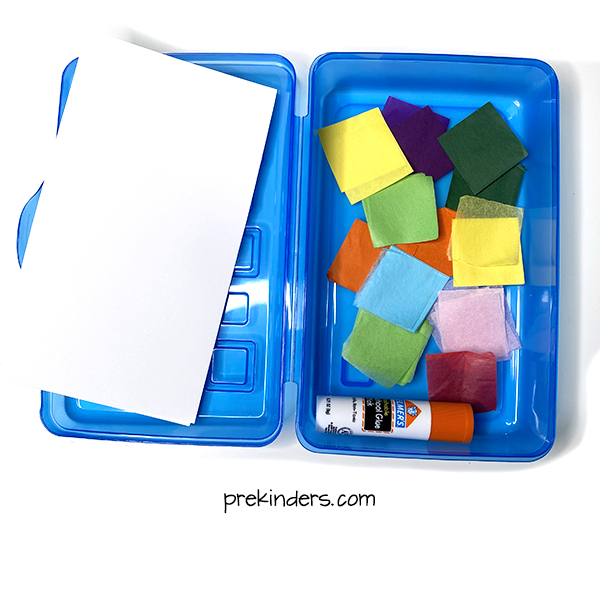
Tissue Squares Box
This art box has paper, glue stick, and tissue squares. These are from a set of pre-cut tissue squares I bought from a craft store, but you can also get a set of rainbow colored tissue paper and cut through many layers to cut a lot of squares.
Yarn Art Box
For this mini art center, I pulled off about 2 feet of yarn and wrapped it around a craft stick. You can quickly wrap it around a craft stick by getting it started around the stick, then holding one end of the yarn and twirling the stick quickly to wrap it. I added scissors, paper, and a glue bottle.

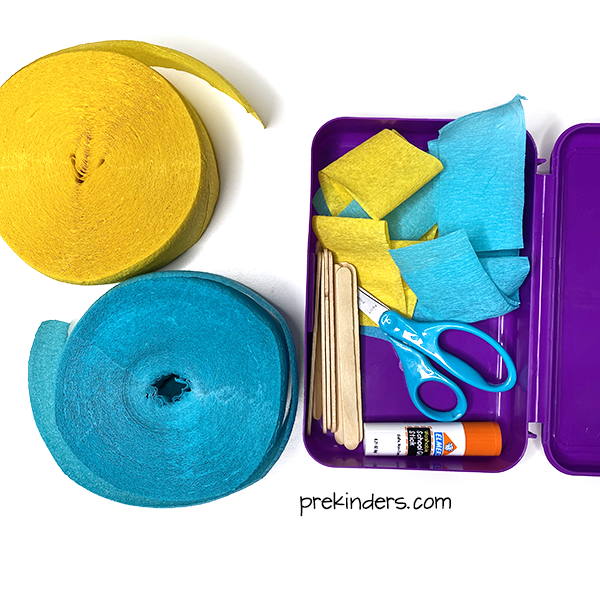
Crepe Paper Art Box
For this art box, I cut of some lengths of crepe paper streamer, added craft sticks, scissors, glue stick, and paper. This is the crepe party streamer, and it’s very inexpensive. You can find it at dollar stores and craft stores.
In normal times, I just add the rolls of crepe paper to the Art Center for children to use.
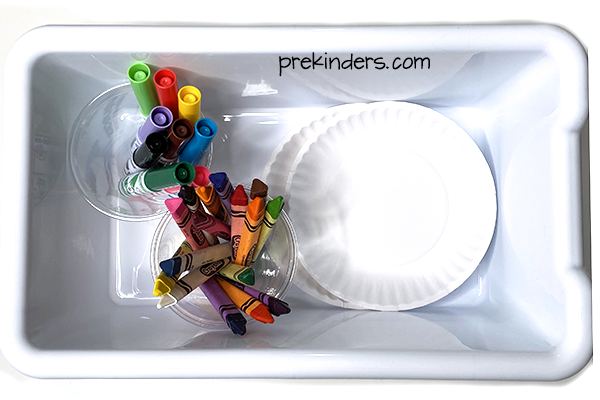
Paper Plate Art Bin
These mini paper plates don’t fit in a pencil box unless you fold them in half (which you could do). I put two in this bin with markers and crayons. Children can decorate the plate however they like. You could also add the larger craft sticks and some masking tape so that children could make stick puppets.
How to Use these Boxes for Literacy Kits
Some of these Mini Art Boxes could also be used for Literacy Kits. Use the items to have children decorate letters. Children can:
- Glue sequins on a letter
- Stick dot stickers on a letter
- Rainbow write a letter with rock crayons
- Cut 1-inch squares of paper to glue on a letter
- Glue tissue squares on a letter
- Glue yarn on a letter
- Cut pieces of crepe paper to glue on a letter
Find Letter Printables here to use with these activities.
Resource Links
Here are Amazon affiliate links to the materials above:
- Crayons
- Markers
- Colored masking tape
- Dot stickers
- Rock Crayons
- Pre-cut tissue squares
- Yarn
- Crepe paper streamer
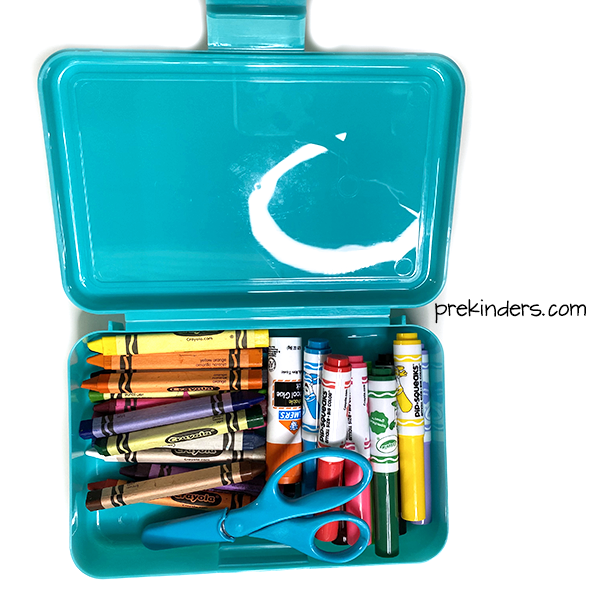
Basic Art Supplies
You can create a basic art supply kit for each child in a pencil box with crayons, markers, scissors, and a glue stick.
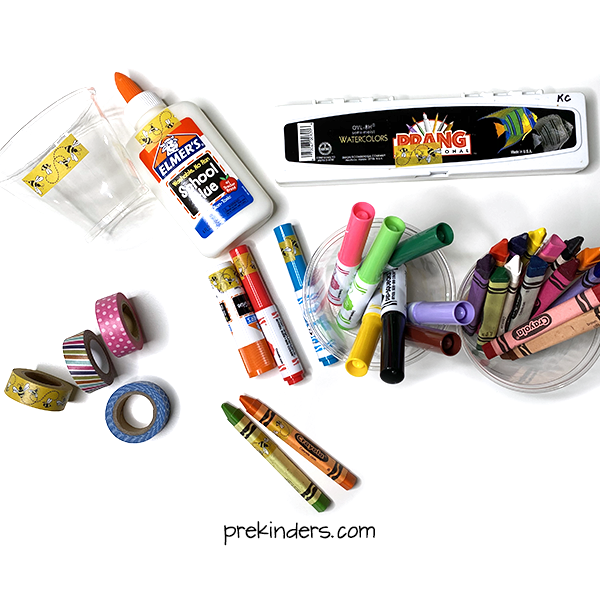
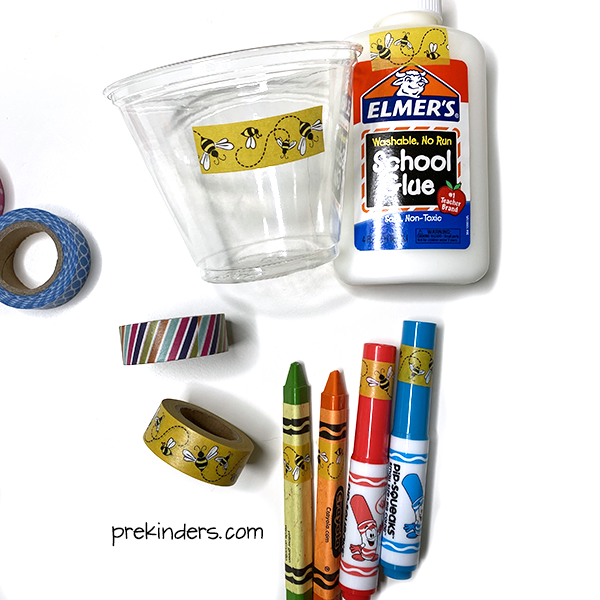
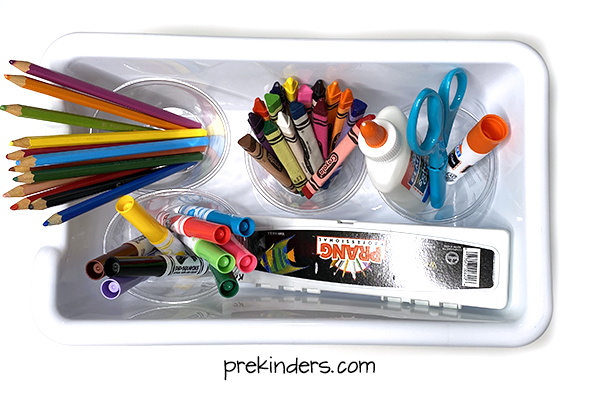
You can also create a basic art supply kit for each child in these bins if you have room to store a bin per child. The bins will hold more supplies than the pencil boxes. In this bin, there are crayons, markers, colored pencils, scissors, glue stick, glue bottle, and a watercolor set.
I used clear plastic punch cups to organize supplies. These are great for supplies because they are inexpensive and they don’t crack easily.
Another way to organize each child’s supplies is in a caddy. You can use the clear punch cups in the caddy as well to organize supplies.

Label Supplies with Washi Tape
Washi tape comes in all kind of prints. (I happen to have a large collection of Washi tape.) You can have a different print for each child to label their individual supplies. This is especially helpful to prevent children from getting their supplies mixed up when you’re trying to cut down on sharing of germs.
I labeled the cup, glue bottle, paint, each individual crayon and marker. Pretty much anything can be labeled. For a class, it would be helpful to buy a large boxed set of Washi tape, or ask parents to provide a roll for their child (add it to your supply list).