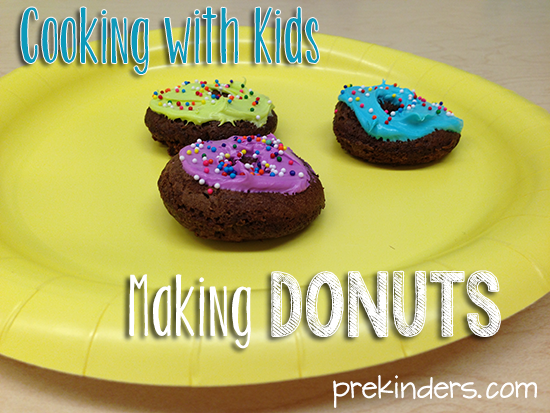
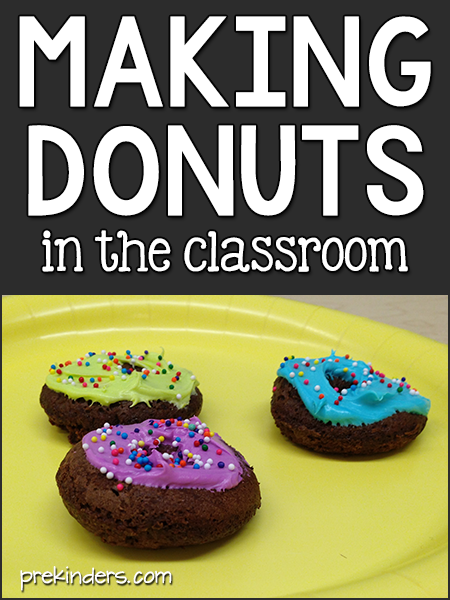
We recently made mini donuts for a cooking activity in my class. Most of the time, we use no-cook recipes, but using a donut maker meant we were able to actually bake something in class for the first time.
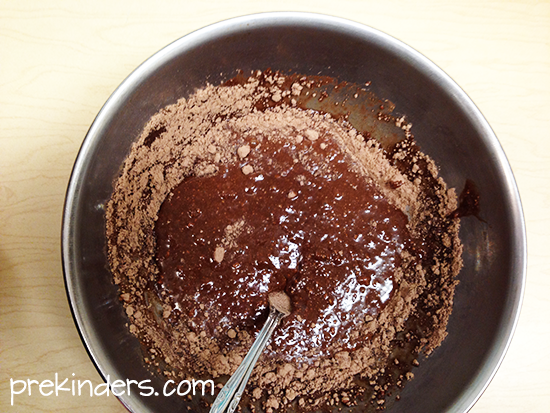
I had one of those mini donut makers that I bought a while back in a department store (cost around $20). These donut makers have a recipe book for making donuts and also have mixes you can purchase especially for the maker, but I wanted to use something simple and inexpensive. I discovered that you can make them with boxed brownie mix (and probably any boxed mix for cake or muffins, although I haven’t tried those options).
For a healthier option, you can also make these with pancake mix. I found a pancake mix that was organic, all-natural, and low in sugar. You could also use a gluten free mix, if needed. Either way, it works out best when the mix is slightly runny, not thick, because you want the mix to pour into the donut mold. You don’t need a thick batter that has to be formed or “mashed”.
Materials Needed:
- Donut maker
- Mixing bowl
- Spoon
- Plates (one per child)
- Small cups (one per child)
- Craft sticks
- Oven mitt
- Food color
- White icing or cream cheese
- Donut batter mix (your choice)
- Any ingredients on your mix’s box
When we made ours, I worked with small groups of about 5 children. Each child had the chance to add an ingredient and stir the mixture.
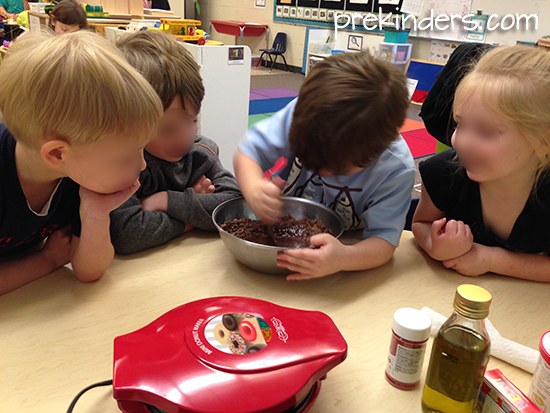
Important! Keep the donut maker out of the children’s reach and tell them to be sure they do not touch it. It gets very, very hot. I used an oven mitt to make sure I didn’t burn myself. *The donut maker in the photo above was not yet plugged in at the time.*
If possible, have the donut maker in their sight, but not in their reach, so they can watch the whole process. They can see how the runny, wet mixture transforms to a spongy bread just by adding heat (science exploration!)
Once the mixture is ready, use a tablespoon measuring spoon to scoop the mixture and pour it into the donut mold on the maker, then close it down and wait. (You’ll need to follow all directions and safety instructions on your particular donut maker.) The wide craft sticks work great for scooping out the donuts when they are ready. Let them cool before giving them to the children.
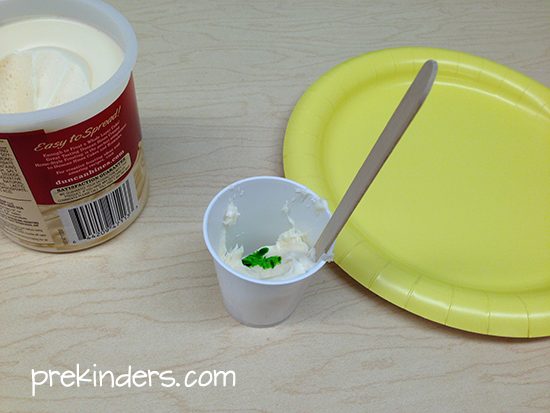
Meanwhile, the children can be working on their donut topping. Give each child a small cup of icing or cream cheese with a drop of food color and have them stir it with craft stick.

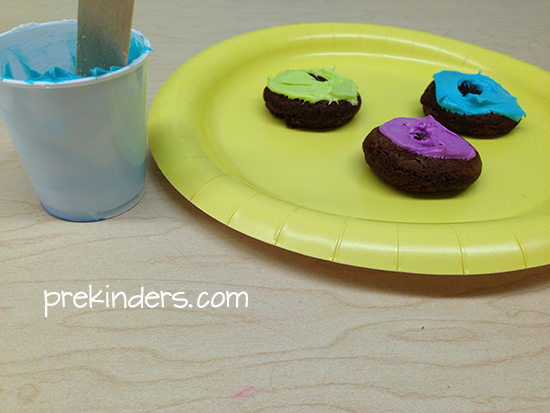
When the donuts are cool enough to touch, the children can spread their icing on the donuts.
Note: Since I was working with only about 5 children at a time, I split a box of brownie mix in half. Each group used half a box, and I halved the amount of ingredients we added.