
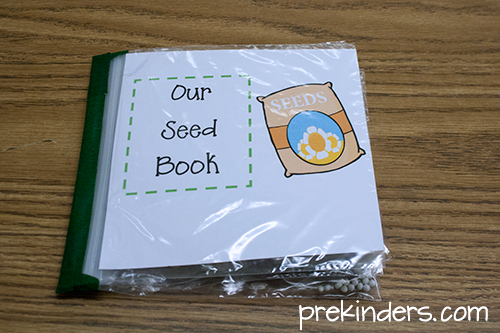
Since my class has been learning about plants and seeds, I made this Seed Book to place in the science center.

The book is made with real seeds, seed packets, and zipper sandwich bags. Since sandwich bags are clear, the children can see the real seeds inside. This will give the children a chance to see real seeds along with pictures of the food or flower they come from. They can compare the variations in colors, sizes, and shapes of the different types of seeds.
Supplies you will need:
zipper sandwich bags
packets of seeds (I used old ones leftover from last year)
stapler
masking tape
printable cover
How to make the book:
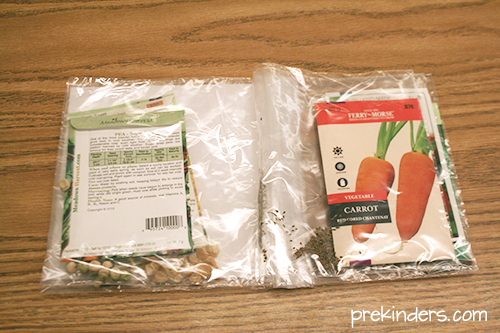
Open a seed packet and pour them into a ziplock sandwich bag. Place the seed packet in the bag along with the seeds so the children will have a picture of the food or flower the seeds come from. The bag opening should be on the left side. Do the same with each type of seed and seal the bags. Print and cut out the book cover and place it in a bag.
The easiest way to assemble the book pages is to line up 3 bags and staple them together on the zipper side. Then, take two sections of 3 bags and staple them together. This will keep the bags from slipping too much when you staple. Six pages (five plus the cover page) are about the right number to staple together (more will be too thick). Make the spine of the book with masking tape, covering the staples so they won’t be sharp.
If you have a lot of seeds, you could make more than one book, and could categorize them into groups: vegetable, fruit, and flower. I made one cover which says “Our Seed Book”, but also made three other covers : “Our Vegetable Seed Book”, “Our Fruit Seed Book”, and “Our Flower Seed Book”.
Download the Free Printable:
You’ll also love this resource:
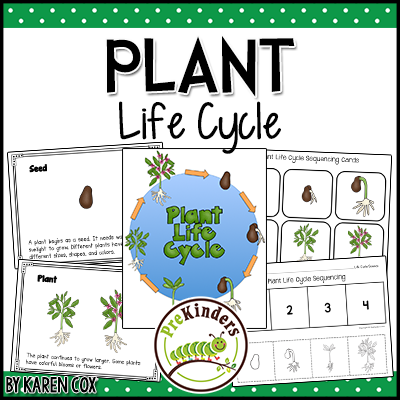
Plant Life Cycle Includes:
- Plant Life Cycle Poster
- Plant NonFiction Book (Color + Black/White)
- Sequencing Cards
- Sequencing Cut & Paste Sheet