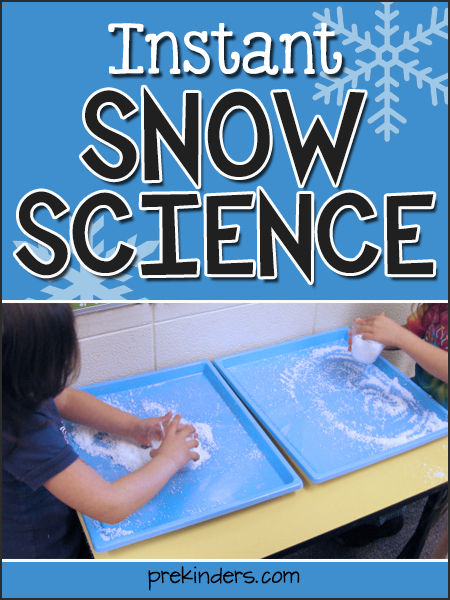
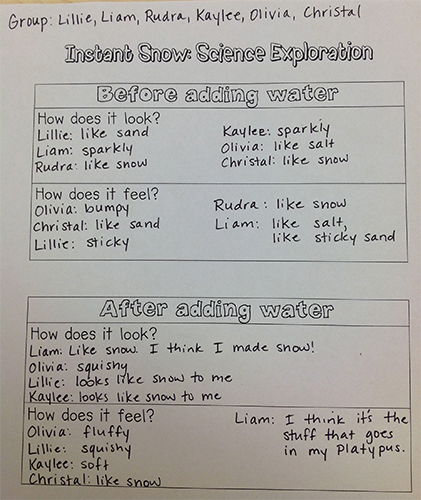
By now, pretty much everyone knows about Instant Snow. Today I’m sharing a printable recording sheet you can use along with the experiment, plus the details of how I do this experiment with my class.
The recording sheet can be filled out either for each child or you can fill it out for the group together and write all of the children’s names at the top (which is what I do). To send it home, just make copies of the filled in group sheet. I do this activity as a small group science activity. My small groups have about 5-6 children.
Materials Needed:
Cup for each child (punch cups work well)
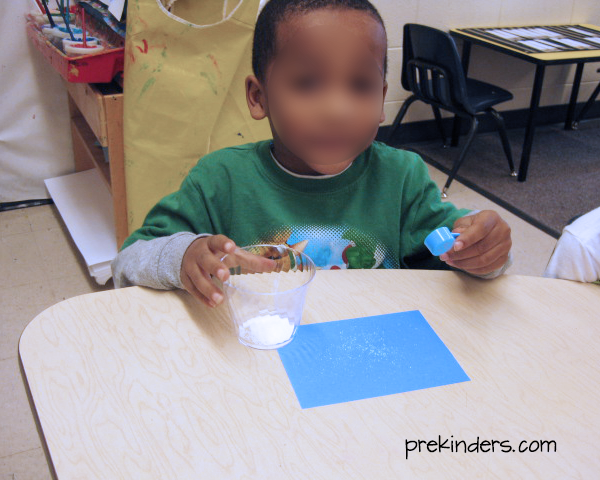
Square of dark blue paper
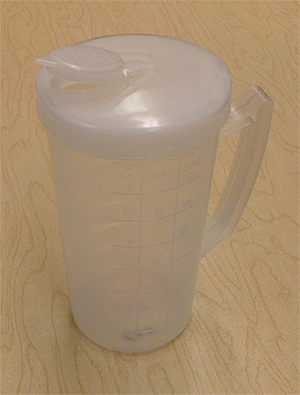
Small measuring pitchers
Large pitcher (or nearby water source)
Insta-Snow
Recording Sheet

Procedure:
1. First of all, I do not tell the children what we are going to make. I only tell them we are going to do a science experiment. If the jar of instant snow has pictures on the label, I hide the label. Even my south Georgia students who have no experience with snow come to the conclusion that they made “snow” when they see the end result. Of course, I explain that it isn’t real snow.
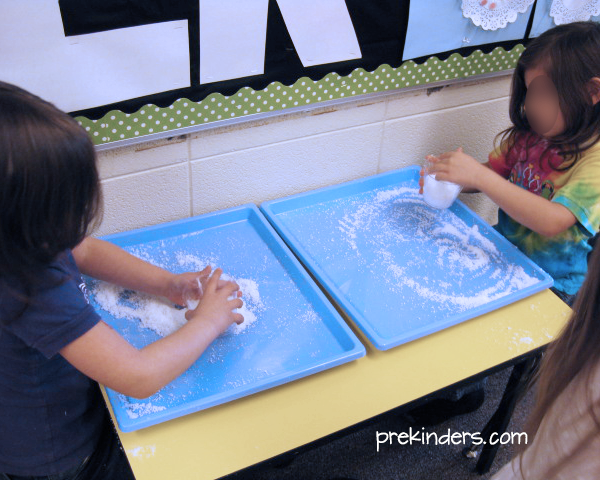
2. I give each child a piece of dark blue paper and a cup. I have the children pinch a very small amount of the “powder” (the Insta-Snow) and sprinkle it onto their blue paper (this is so they can observe it). We look at the powder, touch it, and talk about it. What does it look like? How does it feel? Their answers are written on the recording sheet.
3. Each child has a turn to measure out a scoop of “powder” (the Insta-Snow) and pour it into their cup. The measuring scoop is included when you purchase the instant snow. To measure the correct amount of water, I have a large pitcher of water and a small pitcher with measuring lines. I pour the water into the smaller pitcher to the 2 ounce line, and the children pour the water into the cup of powder. Before we do this, we make predictions: What do you think will happen if we pour the water into the powder?
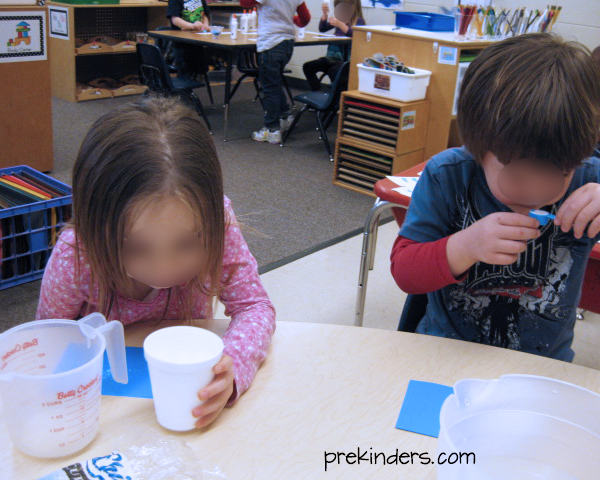
4. The children have a few moments to touch it, look at it, and explore it. We talk about what happened, how it looks, how it feels, and their answers are recorded on the sheet. The instant snow actually has a cool feeling when the water is added.
5. I explain the science behind the snow something like this: Instant Snow is a super absorbent polymer. That means it’s a super soaker– it soaks up lots of water and expands or grows larger. Be sure to use body language to demonstrate words like “expand”.
Download: Instant Snow Recording Sheet
Insta-Snow can be purchased through the Steve Spangler Science site, and I have also seen it for sale at Hobby Lobby and Cracker Barrell.
Find more Winter Activities for Pre-K here.
i didn’t not know about Instant-Snow. very cool!! i will need to check this out for my daughter!! i think she’ll love it!
Thanks for the great idea! We will be doing this tomorrow.
What a great idea. I just did a writing project on “The Snowy Day” complete with snow observations. I added this to my files for next year! Thanks for sharing.
i teach after school science and this is one of the favorites. i tell them they can remake the snow over n over again. another cool experiment get the powder from diapers, they are also polymers. of course we end our experiment with edible polymers -gummie bears- !
Thank you for the recording sheet. We just made “snow” as a whole class activity this week. Fabulous Fun!
Creating snow is a wonderful science experiment. I look forward to using this activity soon. Thanks for sharing!
I can’t wait to share this idea with teachers. I was able to see Steve Spangler perform some of his experiments at a workshop. I really like this one.
Thanks for sharing the recording sheet.
Wow, this really sounds cool! I never heard of instant snow! I would love to do this on a snowy day with my Kindergarten class! They would love it! Thanks for sharing> I made a copy of the recording sheet for my SNOW file!
Linda
I have tried this before with my school aged children, such a neat and fun way for them to experience how easy it is to make snow.
Great ideal. I will add this to my flies for next year.
Hello
It’s a great idea, my kids love it.Gracias for sharing your ideas have been helpful.
We found you can freeze the snow you’ve made then take it out, let it thaw and the kids can keep playing with it. Also as one of staff said ( who has had experience with snow) when it is icy right from freezer that is what real snow feels like. Snow is great for using in sand/water table instead of sand and water with some arctic animals or just with small scoops, bowls, cups etc. Another idea for winter fun with ice is to freeze water in different containers (small ones like portion cups, detergent lids, frozen meal trays etc)and then put ice in water table with a bit of water to show ice floes, you can color water light blue with food coloring as that really makes the ice stand out. You can make predictions about melting times- will this shape or that shape melt quicker, what happens to water level as ice melts. Put a towel or newspaper under table as it does condensate on outside of tub and will drip on floor. Keep paper towels close by for drying cold hands and a timer is a good way to ensure little ones don’t keep hands in icy water too long. I used to bring a cooler to keep the ice filled containers in till we add more in table as day goes on.
Thanks for the great idea! We will be doing this next week
We don”t have snow in our place unless you go to Lake Tahoe ot the mountains which our children seldom do if ever. so this insta-snow is cool. Thank you Karen for this experiment. I download most of your activities. Now it is easier for me in planning.