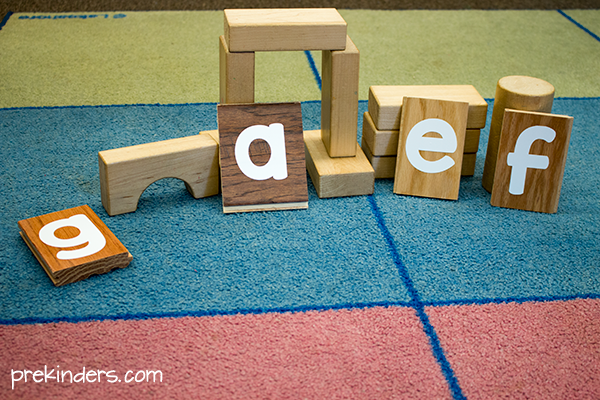
Here’s how to make DIY giant letter tiles for your Pre-K, Preschool, or Kindergarten students. Children can use these in the block center or as a table activity. Kids could spell their name, spell words, match letters to letters, match objects to letters.
In the state where I teach, we have to have classroom materials that are “real and found” objects and something to promote literacy in every center. For the block center, this can count as both.
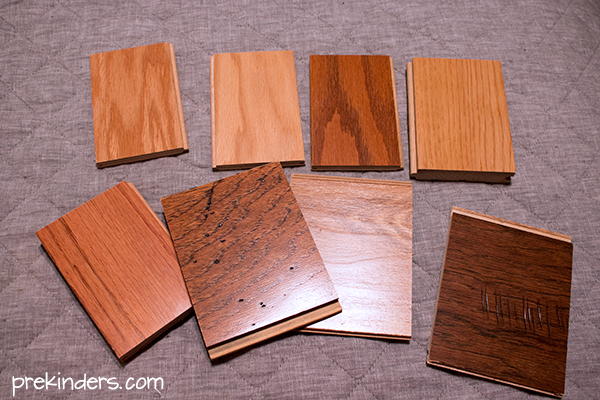
For the giant letter tiles, I got these wood floor samples from a hardware store. Some stores sell them for around 25 cents and some stores have them for free, but make sure you ask before you take. I’m sure you could also ask flooring businesses if they have left over pieces as well.
Use a sanding block or sand paper to sand the edges. Make sure there is nothing that could cause a child to get a splinter.
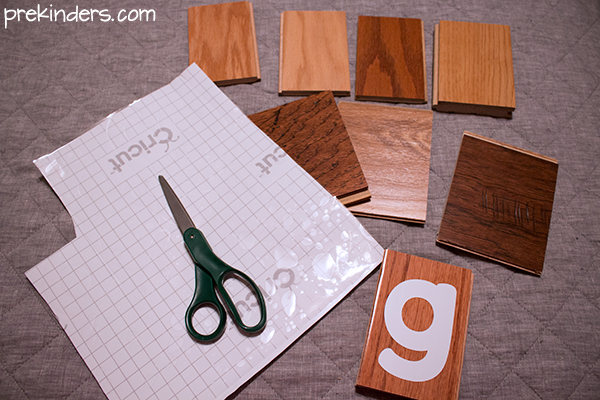
I used my Cricut machine to cut out letters. The font I used was KG Red Hands. You could do lowercase or uppercase or both. I measured the floor sample pieces and then used the “ruler” in Cricut Design Space to measure out how big to make the letters.
You could also do this by tracing and cutting letters onto vinyl yourself, but the Cricut machine is easier. If you would like a chance to win a Cricut machine for yourself, or a prize pack, check out their contest on the Cricut Facebook page. They are giving away prizes to 70 teachers. There are only 2 days left in the contest!
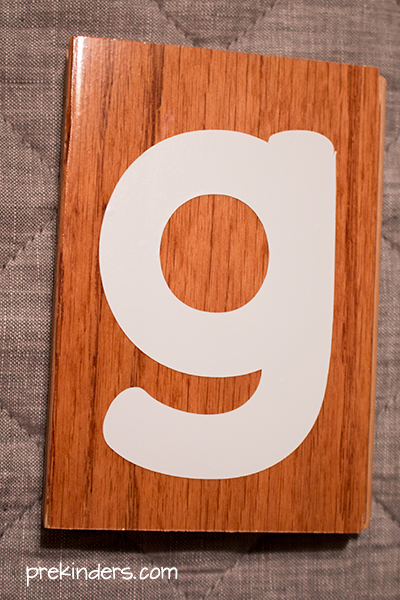
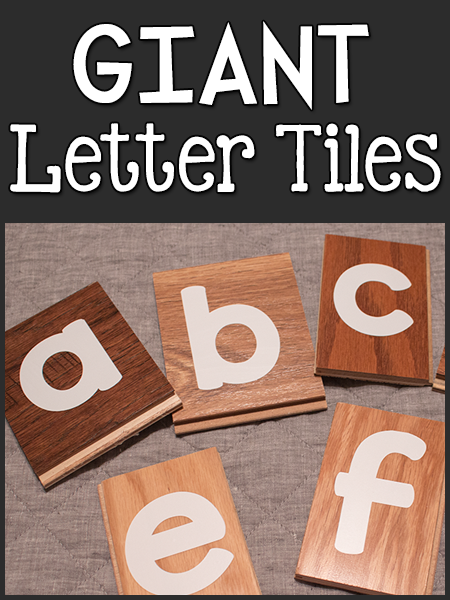
Here’s my finished wooden giant letter tile.
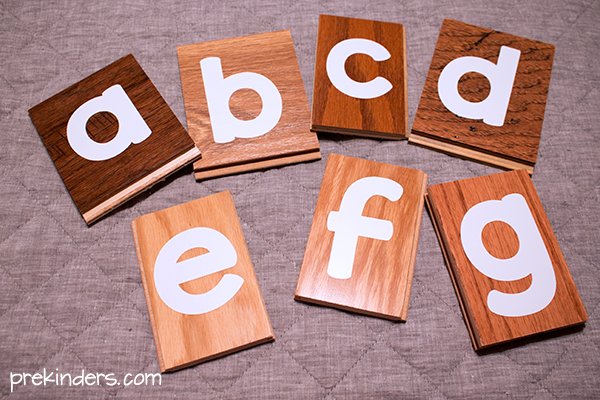
Children can explore with the letter tiles in the block center.
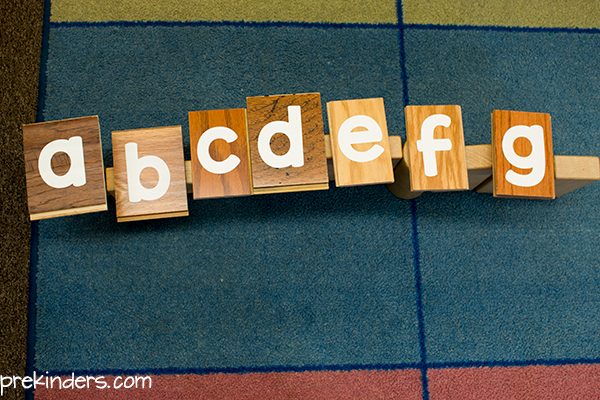
They can even use them to put letters in order.
Don’t forget, if you want to enter for a chance to win one of your own, or a prize pack, go to the Cricut Facebook page.
There’s also a Cricut for the Classroom Facebook Group where teachers share their classroom projects.
Disclosure: I received a Cricut Explore One and supplies. All opinions are my own.

