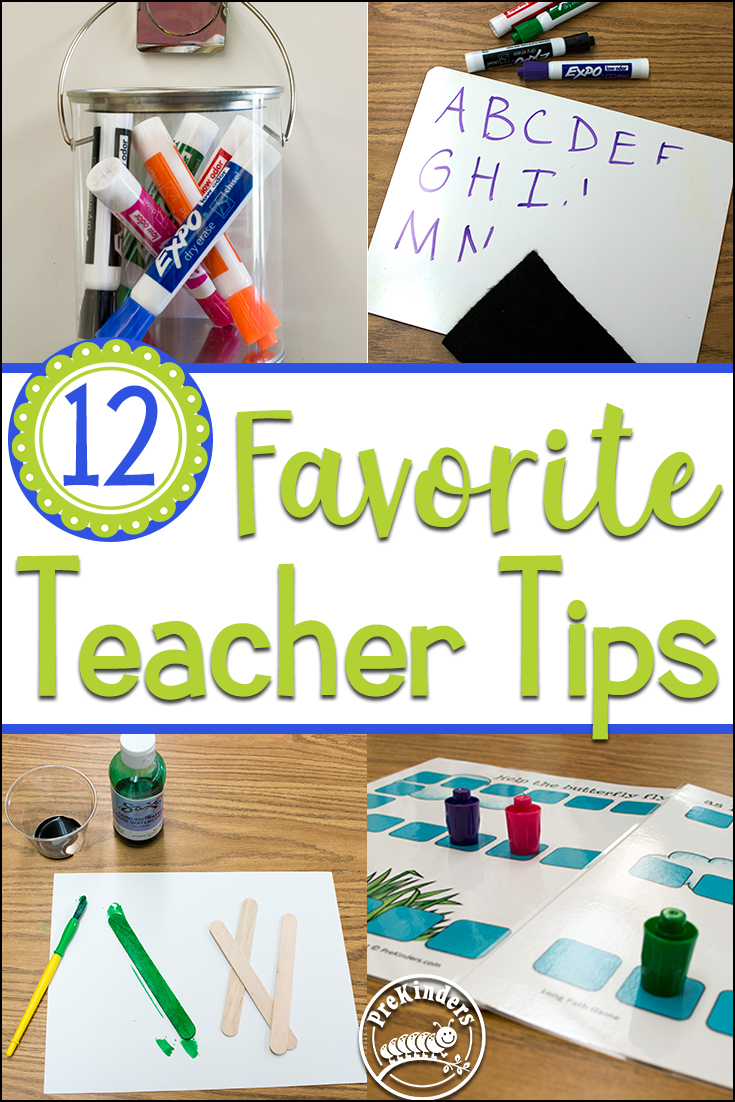
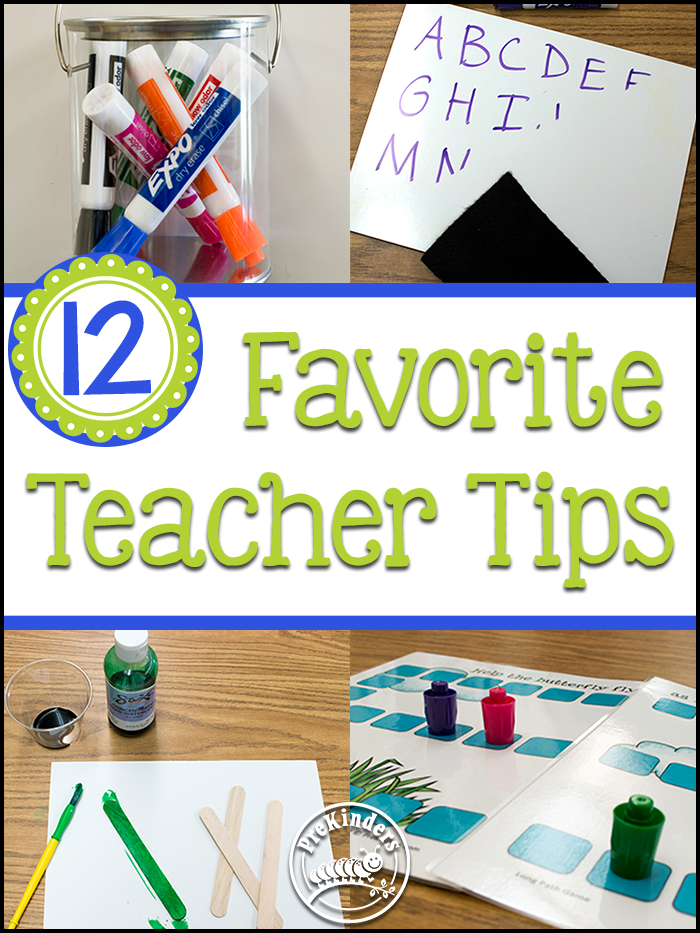
Here are a few of my favorite teacher tips! Some of these you may have heard of, some maybe not. Please add your own helpful tips in the comments section below! We can all help each other out.
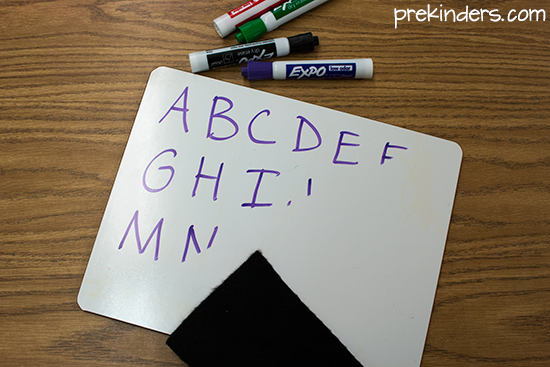
1. Use felt scraps for dry erase lapboard erasers.
I cut felt scraps into squares for the children to erase their lapboards. They work great and are very inexpensive! I’ve also heard of teachers using socks to erase them.
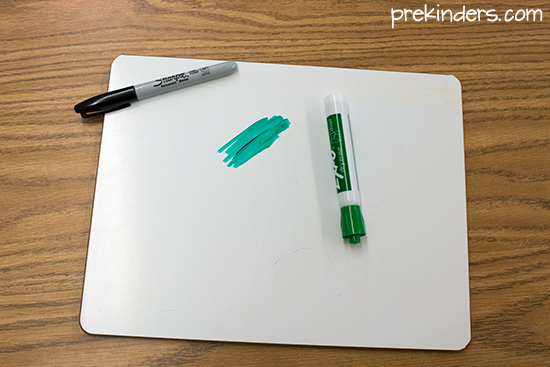
2. Remove permanent marker with a dry erase marker.
If you get permanent marker on a dry erase surface, just color over it with a dry erase marker and it will wipe clean. If all doesn’t come off, try doing the same thing again. This also works for old dry erase writing that won’t come off.
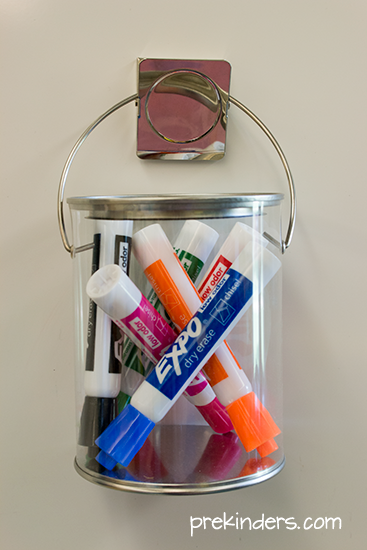
3. Keep markers upside down.
I keep the markers the kids use as well as my dry erase markers for the whiteboard upside down to make them last longer. It’s all about gravity. If you store them right side up, the liquid ink in the marker in going to flow down to the wrong end. Turn them upside down, and the ink will flow towards the tip.
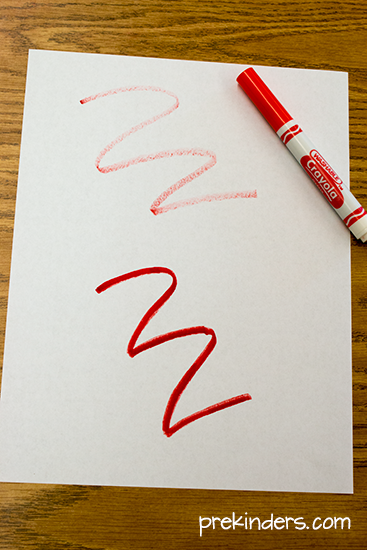
4. Wet your dried out markers.
If you have a marker that has dried out, just wet the tip with a couple of drops of water, close the cap, and let it sit overnight. The marker will work the next day. This only works for water based markers.
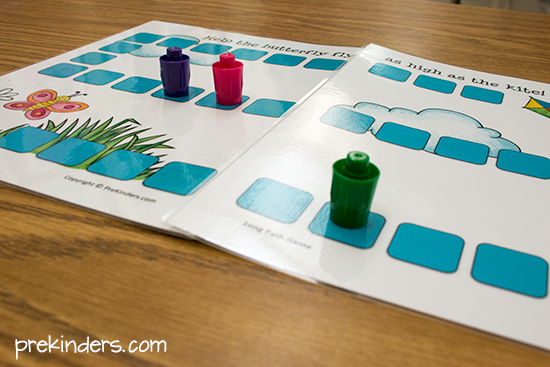
5. Dry erase marker caps make perfect game pieces.
Save those colorful caps from dry erase markers. They make the perfect game pieces for path games! Each child can choose their own color.
6. Keep a pile of roster lists.
This is one thing I use all the time in my classroom. I have a roster of the children’s names and make lots of copies to keep in a stack. When I need one, I just grab one from the stack. These lists can be used to keep track of all kinds of things. When children turn in money, I grab a roster list and as kids bring it to school, their name is crossed off. I use it for school pictures turned in, school T-shirts bought, track whose progress reports I’ve done, cross kids off as I put them in small groups — numerous things.
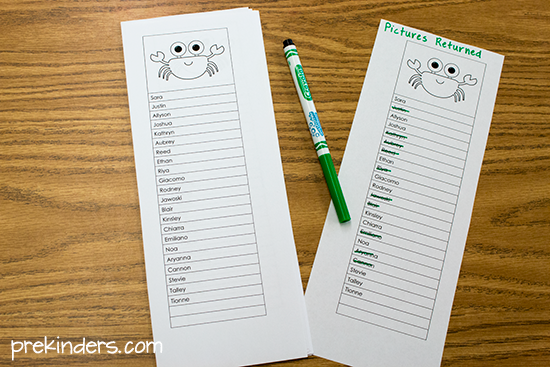
I’m including a downloadable Word Doc template of this file. Just type your students’ names into both columns, insert a clipart at the top if you choose, and print. Make several copies and cut them in half.
Download: Checklist Roster Sheets (DOC)
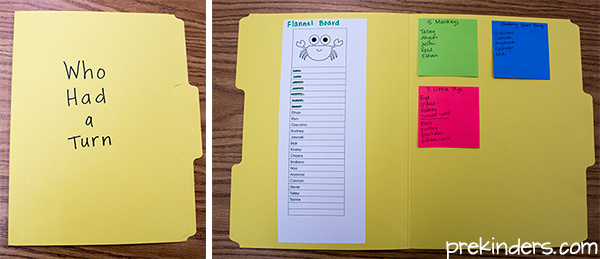
7. Keep track of who had a turn.
I have a “Who Had a Turn Folder” that I keep near my large group area to keep track of who had a turn. When we do a song or game where kids get to take a turn to participate, I write down who had a turn so the next time we play the game or song, I’m sure to choose kids who have not had a turn. Often I stick a sticky note inside the folder and write down the names of the kids who had a turn, but you can also use the roster list mentioned in #6.
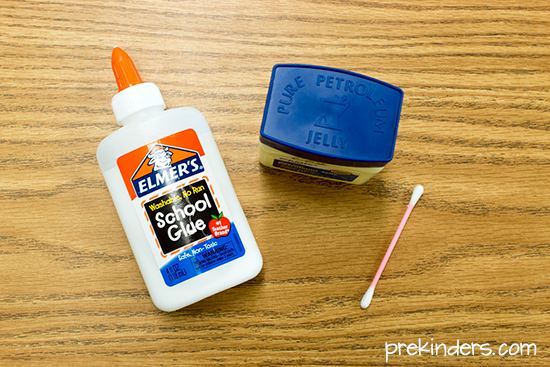
8. Add Vaseline to your glue caps.
Glue bottle caps tend to get clogged and the kids can’t squeeze the glue out. When the bottles are brand new, pop off the caps, and smear a glob of Vaseline in the cap with a Q-tip. Snap the cap back on and your glue bottles won’t clog. My glue bottles last the whole year.
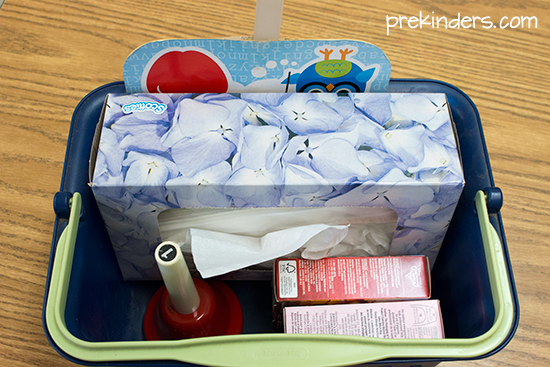
9. Take a playground basket to recess.
I have a playground basket that always goes out to the playground with us. The main things I have in it are tissues and bandaids. Some schools may require you to take a First Aid kit onto the playground, but tissues and bandaids are the minimum. We pretty much use those two items from our basket every single day.
10. Use mesh bags for washing manipulatives.
To clean manipulatives like Unifix cubes, counting bears, Legos, and similar small items, put them in a mesh bag to disinfect them. I’ve heard of teachers putting the bag of manipulatives in a dishwasher, however we don’t have a dishwasher at my school. I’ve found the easiest thing to be to put a little bleach in a bucket of water and put the mesh bag of manipulatives down in the bucket. Then the bag can be hung on a fence to dry in the sun. (Of course, I do this when the kids are not at school because of the bleach.)
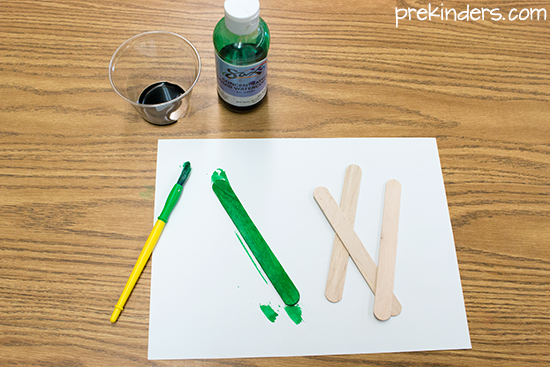
11. Dye your own craft sticks.
If you need a certain color of craft sticks for a project, such as a craft stick Christmas tree or a Mother’s Day picture frame, there’s no need to buy colored craft sticks. Just take your plain craft sticks and dye them yourself. You can paint them with liquid watercolor or with bingo markers. Bingo markers might be the easiest, but I really like the vibrant color of the liquid watercolor.

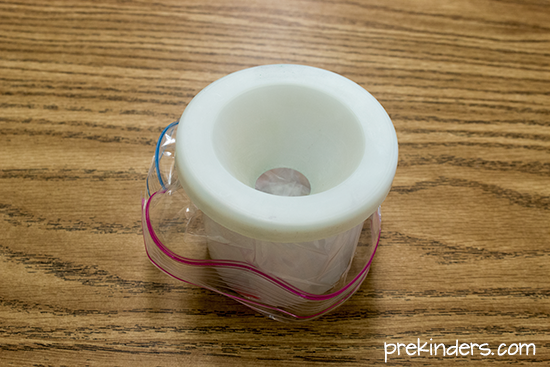
12. Put sandwich bags in your paint cups.
I had a picture of my paint cups in my post about covering my art easel and several people noticed the plastic bags in my paint cups. Buy either ziplock sandwich bags or the bags without a zipper on top, line your paint cups with the bags, and fill the cups with paint. When the paint runs out, pull out the bag and throw it away. No mess to clean up!
More Tips…
This was originally 12 tips, but I have decided to add more to this post!
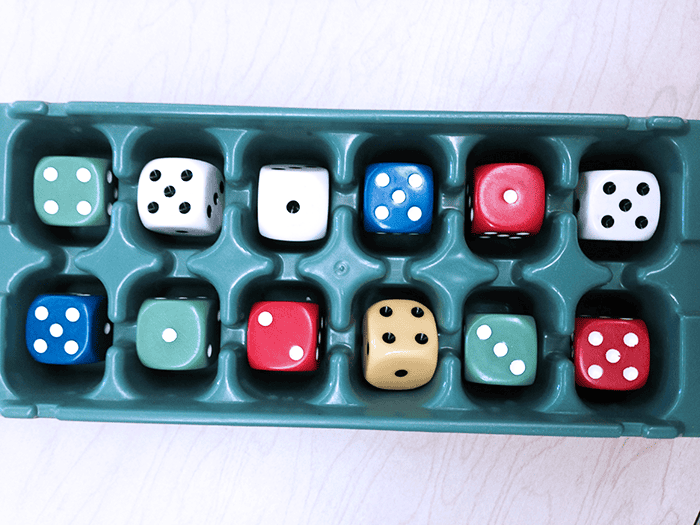
13. Use ice cube trays for dice storage.
We use dice with a lot of our math games (and letter dice with our alphabet games). Ice cube trays are perfect for storing dice, and they can be stacked.
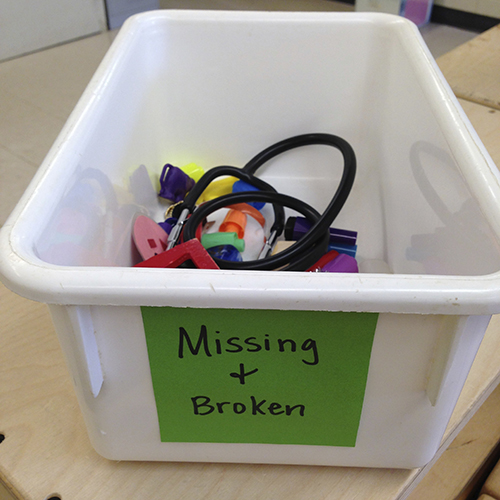
14. Missing Pieces Container
You know how sometimes you pull back a shelf and discover that game piece that went missing weeks ago? Or, just when you’ve put away all the little pieces to a manipulative set, you find one in the classroom and don’t want to drag out the whole thing for one piece?
What about things that break and you’re too busy to fix them? Or, something breaks, but you can’t find the missing piece until months later?
Just get a container, label it “Missing and Broken”, and keep it in a handy spot in your storage closet or on a shelf in the classroom. Anytime you come across a “missing” piece or broken item in the classroom, just toss it in the box. When you need it, you can get it out.
At the end of the year, look through your box. Throw away the things you know you won’t need or can’t fix. Or, fix the ones you can. Round up the little pieces that need to be sorted and put back in a game or manipulative set. This saves a lot of time during the year when you have lots of little ones needing your attention.